| This tool article has been updated for ME3Explorer v3.0. |
| KFreon created and develops ME3Explorer's Image Engine. |
| This article requires knowledge from Textures in Mass Effect. |
Added with revision 669 as "DDS Converter", and re-implemented in revision 721, Image Engine is the toolset's basic image processing utility. The tool allows for conversion among various image formats and compression algorithms, with the added benefit of providing the ability to manipulate mipmaps. Between Image Engine and the autofix abilities of TPF Tools, most improperly-formatted textures within a texture mod can be fixed without needing a more advanced editor like Adobe Photoshop or GIMP.
Background[]
Prior to using Image Engine, it's important to understand what file types, formats, and compression algorithms it's capable of handling. All variations discussed in Textures in Mass Effect are available, in addition to several others which are summarized in the table below.
| COMPRESSION | FORMAT | FILE TYPE |
|---|---|---|
| ATI1 | A8L8 | BMP |
| BC2/DXT2 | RGB | JPG |
| BC2/DXT3 | PNG | |
| BC3/DXT4 | TGA |
Usage[]
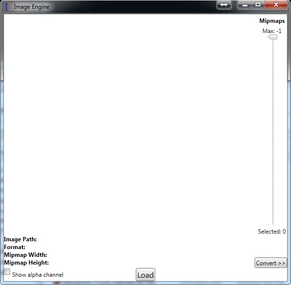
The tool will be empty when first opened. To populate the window, click the Load on the bottom of the pane and browse to the desired texture. Files can also be dragged & dropped directly into the empty space.
GUI Overview
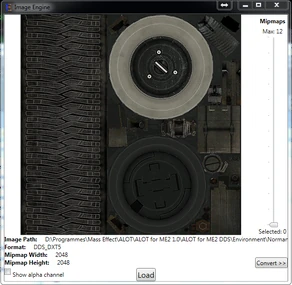

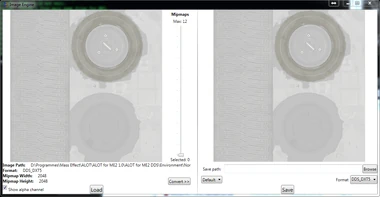
Once the image is loaded, a few properties for the texture appear in the bottom:
- Image Path — Location of the loaded file on your hard drive.
- Format — Format of the texture.
- Mipmap Width and Height — Size of the mipmap (in pixels) currently displayed.
- Background — Toggles the background white or black. Useful when used in combination with the Alpha Channel.
- Show DDS Header Info — Toggles some technical details about the texture.
Some basic manipulations of the GUI can alter the texture's display:
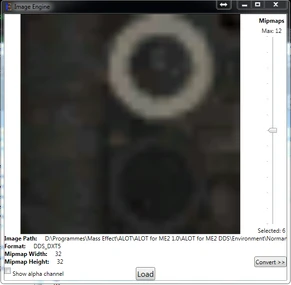
- Mipmap Slider — Adjusting the slider at the right edge switches between mipmaps. Mips are scaled to the window, which will result in an increasingly blurry image.
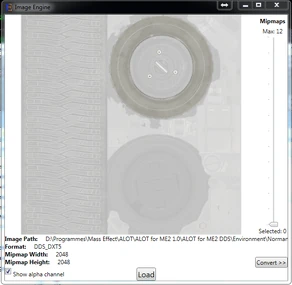
- Alpha Toggle — Clicking the Show alpha channel checkbox switches on and off the display of the alpha. If there is no change, the texture is at 100% opacity.
| Keep backups of your original textures. Some conversions can induce a quality loss, especially those that affect alpha channels. |
Converting a Texture
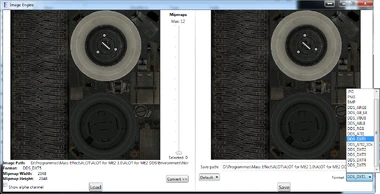
Clicking the Convert button will cause a pane to fly out from the right, displaying a comparison of the original image and a preview of the converted one.

Conversion options include:
- Save path — Specifies the save location for the converted texture. Click Browse button to change it as needed.
- Format — By default, this dropdown menu is set to the original image format. To change the output format, click the arrow and select the desired format. For more detailed information, see Textures in Mass Effect.
- Default — This dropdown menu is for mipmaps. It's set to "Default", which corresponds to the correct number of mipmaps for the image. Other options include:
- KeepExisting — Retains the mipmap quantity of the original texture.
- GenerateNew — Removes the original mipmaps and regenerates new ones.
- KeepTopOnly — Removes all but the largest mipmap.
When you've finished choosing the desired conversion options, Save will save the converted texture to the location specified in Save path.